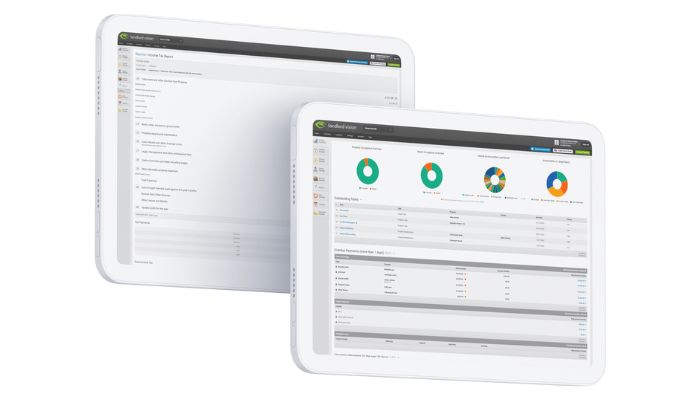
Landlords these days need to remember a multitude of dates and deadlines. Using Landlord Vision can help to really take the pressure off when you don’t want to miss something important. In this article we’ll show you how to stay on top of your insurance renewals and safety certificates.
Managing Insurances in Landlord Vision
Some insurance policies auto-renew. If you aren’t keen on hunting around every year for a new deal, then this probably won’t pose much of an issue. There are so many deals around for new customers that remembering to shop around at the end of a policy could help save you money.
In Landlord Vision there’s a dedicated space for you to record your insurance details and get reminded before the renewal date.
If you’ve got a lot of tenancies this can come in handy in the event of needing to make a claim as it’s easy to see the basic insurance details for each of your properties.
To Add Insurance Details to Landlord Vision
To add details of your insurances, click into your portfolio and in the left-hand menu click: Property Manager > Properties > Click on the property you want to record insurance for.
In the tabs across the top click on Safety Certificates & Insurances.
Under Insurances, click on Add Insurance.
What Insurance Details can you Record in Landlord Vision?
In the insurance section you can add:
- The type of insurance you have
- An insurance company contact (if you have one)
- A reference number (a good place to record your policy number which you’ll need if you call your insurer)
- The expiry date of the policy
- The total sum insured
If you use the automatically generated Tenant Welcome Pack, you can choose to include or exclude your insurance information from the pack by ticking or unticking the ‘Print on Welcome Pack’ box.
In this section you can also set up an early warning and choose when you want to be reminded before the policy ends. The default setting is 30 days, meaning you’ll be reminded 30 days before the insurance is due to expire. You can also choose a specific date if that better suits your way of working.
You can even attach your insurance certificate, policy schedule and policy booklet if you have them saved digitally. This makes them easy to find when it comes to renewing or claiming.
Once you’ve entered all the insurance information don’t forget to click save!
Managing Safety Certificates in Landlord Vision
Insurance isn’t the only thing that expires. Safety certificates like Gas Safety checks and electrical checks are a necessity for landlords. Just like insurances you can record the details for these in Landlord Vision and set up an early warning, so you get a notification when it’s time to renew them.
To Add Safety Certificates to Landlord Vision
To add details of your safety certificates, click into your portfolio and in the left-hand menu click: Property Manager > Properties > Click on the property you want to record a safety certificate for.
In the tabs across the top click on Safety Certificates & Insurances.
Under Safety Certificates, click on Add Safety Certificate.
What Safety Certificate Details can you Record in Landlord Vision?
In the Safety Certificate section, you can record:
- The type of certificate you’re recording
- A contact (if you have one)
- A reference or certificate number
- The expiry date of the certificate
You can also choose to include or exclude this information from your automatically generated Tenant Welcome Pack.
You can set up an early warning for any of the certificates you add in, just as in the insurance section.
You can also attach an electronic copy of the safety certificate for ease of reference.
Again, don’t forget to click save once you’ve filled in all the information!
Monitoring Insurances and Safety Certificates in Landlord Vision
While the early warnings will alert you on the date you’ve chosen, you might want to occasionally check when they’re due. This can help with financial planning.
If you’ve entered your insurance and safety certificate details into Landlord Vision you can pull a report from the reporting menu to show you an overview of all insurances and safety certificates and their expiry dates.
To find the report, click into your portfolio. In the menu on the left-hand side click on Reports > All Reports. Under ‘Property Reports’ click on either ‘Safety Certificates’ or ‘Insurances’.
You can print the reports, export them to PDF and send them by email or download them as an Excel file. You can also filter the reports by status and expiry date.
Keeping insurance and safety certificate information in Landlord Vision makes it easy to stay on top of renewals and to find crucial insurance information quickly. If you get stuck adding in your details, get in touch with the Landlord Vision support team and we’ll be happy to help.


