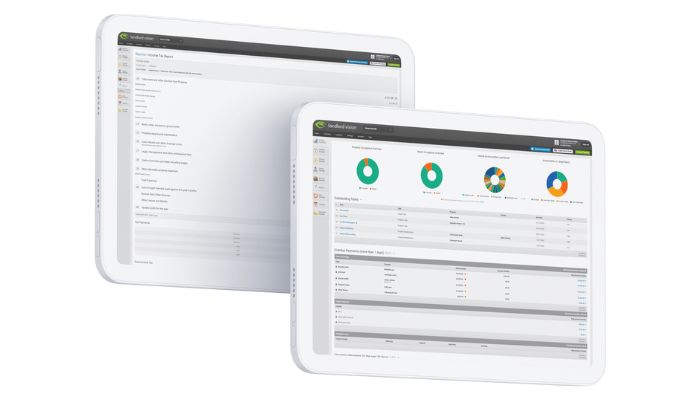
Here at Landlord Vision, we’re always improving our software based on feedback from our subscribers. Our latest software feature launched in October, so we thought we’d share it with you so you can start using it today. The new Landlord Vision feature allows users to copy expenses and invoices. This blog post will give you the lowdown on when to use it and how.
Why is Copying Expenses and Invoices Useful for Landlords?
If you use the same supplier a lot for the same sorts of things, you may find you need to raise a number of similar expenses, where only the dates and amounts are different. Using the repeating expenses might not be suitable as you probably don’t use them on a fixed schedule, but just as and when you need to. This is where the copy expense functionality comes in.
How to Copy Expenses and Invoices in Landlord Vision
Firstly, raise an expense for that supplier. Next, open the expense and click Copy Expense to raise another similar expense. All of the fields except for the dates and amount will remain the same, meaning you only need to fill in these last fields and you have an expense entered into the system much more quickly than you would have done otherwise. You will still need to either record a payment, or reconcile it with your bank statement to complete it. Keep going until you have all of the expenses that you need.

You can also do the same thing with income invoices, whether they be rents, charges, or other income as well. Open the invoice and look for Copy Invoice in the top right hand corner of the page and then raise the new invoice.

Finally, we have also launched a copy journal facility. Some transactions, for instance director’s loan payments, require a journal entry rather than an income or expense. Some of these happen regularly and you can now use the Copy Journal function to add them more quickly. As with the expenses and invoices, open the journal in Account Manager > Journals and look for the Copy Journal button in the top right-hand corner. Again, all the details will be filled in, you simply need to put in a new date.
If you have any questions about the new feature, don’t hesitate to get in touch! Our contact information can be found here.


